Red Velvet Cheesecake
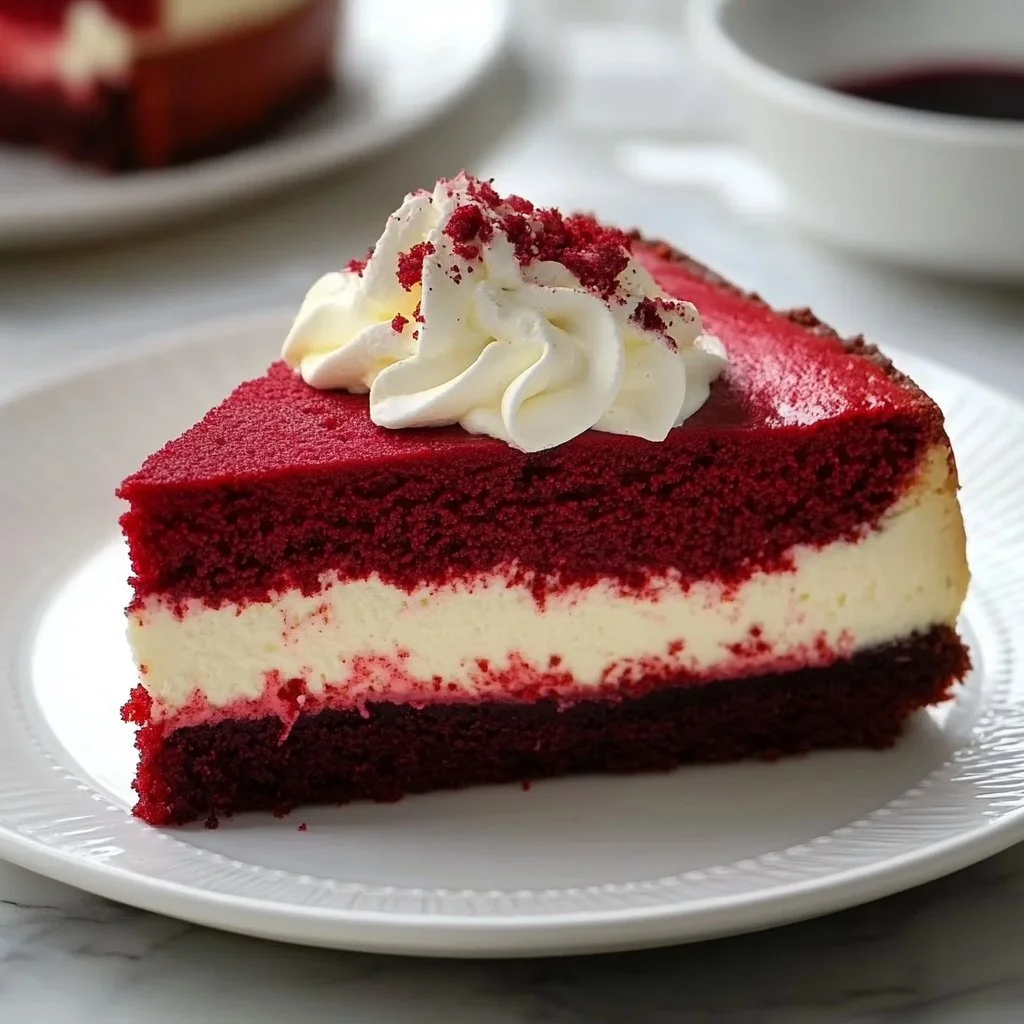
Red Velvet Cheesecake is a delightful dessert that beautifully merges the rich flavors of traditional red velvet cake with the creamy decadence of cheesecake. This striking, layered treat is not just a feast for the eyes but also for the palate, promising a bite of velvety smoothness punctuated with notes of sweetness and subtle cocoa. It’s an impressive dessert that can elevate any occasion, from festive celebrations to intimate gatherings. Whether you’re craving a special dessert or looking to impress your guests, this recipe will guide you through a step-by-step process that is both easy and rewarding.
Why You’ll Love This Recipe
This Red Velvet Cheesecake is a breeze to prepare, making it perfect for both experienced bakers and beginners alike. With minimal ingredients required, you can whip up this stunning dessert in no time flat. It’s a family-friendly recipe that will get everyone involved in the kitchen, especially when it comes to the decorating part! The classic flavors and eye-catching presentation mean this cheesecake is not just a treat—it’s a statement piece. Plus, this dessert can be tucked away in the refrigerator, allowing you to prepare in advance and enjoy the day of your gathering without stress.
Ingredients for Red Velvet Cheesecake
Creating the perfect Red Velvet Cheesecake requires a pleasing blend of ingredients that complement each other wonderfully:
- 2 cups red velvet cake mix: Adds that signature flavor and color.
- 1/2 cup unsalted butter, melted: Provides richness and binds the base together.
- 2 large eggs: Essential for adding structure to both the base and the filling.
- 1/4 cup milk: Keeps the cake moist and tender.
- 16 oz cream cheese, softened: The star of the cheesecake filling.
- 1 cup granulated sugar: Sweetens the filling to perfection.
- 1 teaspoon vanilla extract: Enhances flavor depth.
- 2 large eggs (for filling): Ensures a creamy texture.
- 1 cup sour cream: Adds tanginess and creaminess to the filling.
- 1/4 cup all-purpose flour: Gives the filling body and stability.
- 1 tablespoon cocoa powder: Introduces subtle chocolate flavor.
- Red food coloring (optional): Enhances the striking red hue.
- Chocolate shavings or berries (for garnish): Perfect for an elegant finish.
Step-by-Step Directions
-
Preheat the Oven: Begin by preheating your oven to 325°F (160°C). To ensure your cheesecake bakes perfectly, grease a springform pan, which will help release it come serving time.
-
Prepare the Base: In a mixing bowl, combine the red velvet cake mix, melted butter, 2 large eggs, and milk. Mix until these ingredients are well-combined. Press this mixture into the bottom of your prepared springform pan evenly.
-
Make the Cheesecake Filling: In another bowl, beat the softened cream cheese, sugar, and vanilla extract together until the mixture is smooth and creamy. Then add 2 eggs, sour cream, flour, and cocoa powder, mixing well until you have a thick and luscious filling.
-
Assemble the Cheesecake: When ready, carefully pour the cheesecake filling over the red velvet cake base, smoothing it out with a spatula.
-
Bake to Perfection: Place your cheesecake in the oven and bake for 55-60 minutes. You want the filling to be set but still slightly jiggly in the center to achieve that creamy texture.
-
Cool the Cheesecake: After the baking time is up, turn off the oven, crack the door open, and let your cheesecake cool in the oven for an hour. This gradual cooling process helps prevent cracks.
-
Chill Well: Once cooled, transfer the cheesecake to the refrigerator and let it chill for at least 4 hours or, even better, overnight. This is crucial for achieving the best flavor and texture.
-
Garnish and Serve: Before serving, garnish your cheesecake with delightful chocolate shavings or a scattering of fresh berries for a pop of color and contrast.
Tips & Tricks
To elevate your Red Velvet Cheesecake experience, consider these chef’s secrets and optional extras:
- Flavor Enhancements: For an unforgettable taste, try incorporating a teaspoon of espresso powder into the filling to enhance the chocolate flavor.
- Texture Variations: If you enjoy a bit of crunch, add crushed nuts or cookie crumbs to the base for added texture.
- Serving Style: Serve individual slices on dessert plates with a dollop of whipped cream for an elegant touch.
Serving Suggestions & Pairings
Your Red Velvet Cheesecake can shine on its own but also pairs beautifully with various accompaniments. Here are some creative ideas:
- Beverage Pairings: Serve with a glass of cold milk, or pair it with a light, fruity tea or a rich cup of coffee.
- Accompaniments: Serve alongside a scoop of vanilla or strawberry ice cream to complement the rich cheesecake.
- Presentation Ideas: Layer some fresh berries around the edges on your serving platter for a colorful presentation that tempts the senses.
Nutritional Information
When indulging in your Red Velvet Cheesecake, note that it’s a rich dessert that’s perfect for special occasions. Each slice offers a delightful treat, but moderation is key! Here’s a quick nutritional snapshot (values per slice may vary):
- Calories: Approximately 300-400 (depending on slices)
- Total Fat: Variable; includes butter and cream cheese
- Sugars: Adding sweetness and flavor
- Carbohydrates: Primarily from the red velvet mix and added sugars
Enjoy mindful indulgence; a small slice can still give you that satisfying sweet tooth fix.
Storing Tips & Variations for Red Velvet Cheesecake
To ensure your Red Velvet Cheesecake stays delicious, follow these storage tips:
- Storing: Keep your cheesecake tightly covered in the refrigerator for up to 5 days.
- Freezing: You can freeze slices for up to 2 months. Wrap each slice in plastic wrap and then place it in an airtight container.
- Reheating: Let the cheesecake thaw in the refrigerator overnight before serving.
- Healthier Swaps: For a lighter version, consider using reduced-fat cream cheese or Greek yogurt instead of sour cream in the filling.
Conclusion for Red Velvet Cheesecake
Now that you know how to create this mouthwatering Red Velvet Cheesecake, it’s time to roll up your sleeves and get baking! With its stunning appearance and luscious taste, this cheesecake is sure to become a favorite in your home. Impress your friends and family, or simply treat yourself to a slice of heaven. Don’t wait—dive into this delightful recipe today!
FAQs
Q1: Can I make the Red Velvet Cheesecake ahead of time?
Absolutely! This cheesecake is perfect for preparing in advance. It can be made a day ahead and stored in the refrigerator.
Q2: Can I use homemade red velvet cake for the base?
Definitely! If you prefer homemade red velvet cake, just ensure it’s crumbled to a texture suitable for the cheesecake base.
Q3: What can I substitute for cream cheese?
You could use mascarpone cheese or a vegan cream cheese alternative if you need a non-dairy option.
Q4: How do I ensure my cheesecake doesn’t crack?
Cooling your cheesecake in the oven with the door ajar and allowing it to set gradually helps prevent cracks.
Q5: Is it necessary to use red food coloring?
The red food coloring is purely for aesthetic purposes. You can omit it if you prefer a more subtle red hue in your cheesecake.