Piped Chocolate Butter Cookies
Piped Chocolate Butter Cookies are a delightful treat, known for their rich chocolate flavor and beautiful, swirly designs that can brighten any occasion. These cookies boast a smooth, buttery texture that melts in your mouth, sending your taste buds on a delicious journey. The fragrant vanilla and espresso notes enhance the chocolate, creating an irresistible combination. Perfect for family gatherings, parties, or just a cozy evening snack, this recipe is a must-try for any baking enthusiast. With a step-by-step guide, making these cookies at home is an achievable culinary adventure that will surely impress friends and family.
Why You’ll Love This Recipe
This Piped Chocolate Butter Cookies recipe is as easy as it is rewarding. With a minimal ingredient list, you can whip up a batch with ingredients you likely already have at home. The butter and sugar come together easily, giving you a rich dough that can be piped into beautiful shapes. Not only are these cookies quick to prepare and bake, but they’re also a fantastic family-friendly option, perfect for including the kids in the kitchen. The straightforward, step-by-step directions allow even novice bakers to shine, resulting in delightful, eye-catching cookies everyone will love.
Ingredients for Piped Chocolate Butter Cookies
- 1 cup (16 Tbsp; 226g) unsalted butter – softened to room temperature for that creamy consistency.
- 3/4 cup (150g) granulated sugar – adds sweetness and a lovely texture.
- 1 large egg – at room temperature to help with smooth mixing.
- 1 and 1/2 teaspoons pure vanilla extract – for an aromatic essence that enhances flavor.
- 2 cups (250g) all-purpose flour – the base for our cookie structure.
- 1/3 cup (27g) natural or Dutch-process unsweetened cocoa powder – providing deep, rich chocolate flavor.
- 1/4 teaspoon salt – to balance sweetness and enhance flavors.
- 2 tablespoons (30ml) warm milk – to help blend the dough.
- 1 teaspoon espresso powder – intensifies the chocolate flavor without adding caffeine.
- 4 ounces (113g) semi-sweet chocolate – finely chopped for melting and dipping.
- Maraschino cherries, sprinkles, or coarse sugar – optional toppings that add a colorful finish.
Step-by-Step Directions for Piped Chocolate Butter Cookies
-
Chill Baking Sheets: Start by preparing your baking area. Chill your baking sheets in the refrigerator for 20–30 minutes. Line 2–3 large baking sheets with parchment paper to ensure your cookies don’t stick and to facilitate easy cleanup.
-
Mix the Base: In a large mixing bowl, beat the softened butter until creamy, which should take about 2 minutes. Gradually add in the granulated sugar and continue beating until the mixture becomes fluffy, typically another 2 minutes. Stir in the egg and vanilla extract until everything is well incorporated and smooth.
-
Combine Dry Ingredients: Gradually add in the all-purpose flour, cocoa powder, and salt at low speed. Once combined, increase your mixer speed to high until the dry ingredients are fully integrated into a thick, smooth dough.
-
Prepare the Dough: Warm milk in the microwave briefly, then dissolve the espresso powder in it. Pour the espresso-infused milk into the dough, beating until the mixture is creamy but still thick. If needed, feel free to add a little more milk to achieve the right consistency.
-
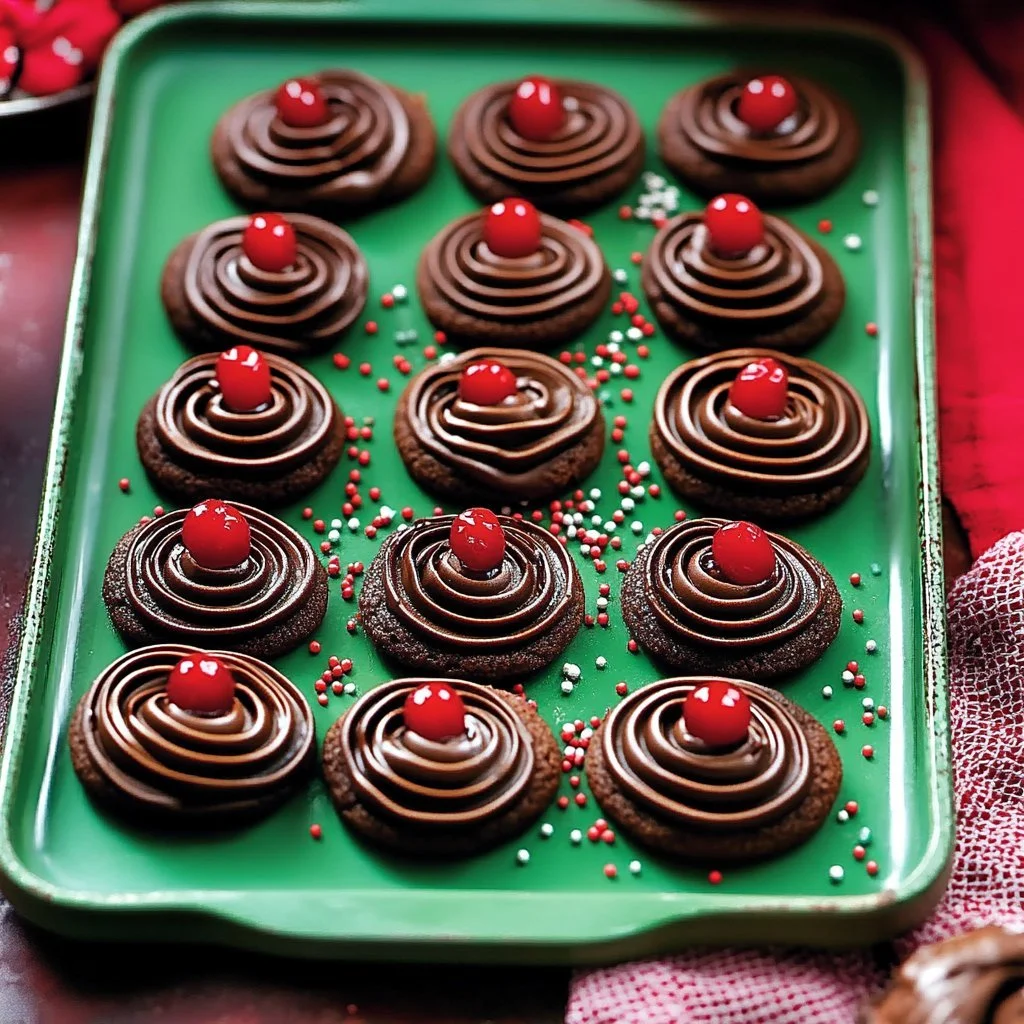
Pipe the Cookies: Using a piping bag fitted with a large tip, pipe the cookie dough onto the prepared baking sheets into swirls or lines, allowing some space between each for spreading. This is where you can sprinkle some optional toppings like Maraschino cherries or colorful sprinkles for an added touch.
-
Chill the Cookies Again: Place the piped cookies into the refrigerator and chill them for another 20-30 minutes. This step ensures they hold their shape while baking.
-
Preheat and Bake: While the cookies chill, preheat your oven to 350°F (177°C). Bake the cookies for 12–15 minutes, just until the edges are set and the centers look slightly firm. Allow the cookies to cool on the baking sheet for about 5 minutes before transferring them to a wire rack to cool completely.
-
Melt and Dip: Lastly, melt the finely chopped semi-sweet chocolate in a microwave-safe bowl, stirring frequently until smooth. Dip the cooled cookies into the melted chocolate, and if desired, add sprinkles on top before the chocolate hardens. Let the cookies set before serving.
Tips & Tricks
To master the art of piping, practice makes perfect! If you’re new to piping, consider starting with a simple swirly design for a charming effect. Also, using a good quality piping bag and tip can make a significant difference in the presentation of your cookies. Don’t hesitate to experiment with flavor additions, such as a pinch of cinnamon or a different type of extract if you want to blend flavors. If you want to create a festive twist, you can tint the chocolate or dough with food coloring or use seasonal toppings like crushed peppermint for a winter treat.
Serving Suggestions & Pairings
Piped Chocolate Butter Cookies can be beautifully presented on a decorative platter, surrounded by seasonal fruits or alongside a lovely cup of coffee or tea. Consider serving them as part of a dessert table alongside other treats such as brownies, mini cupcakes, or fruit tarts for a delightful assortment. For an extra indulgence, pair your cookies with a scoop of vanilla or chocolate ice cream for a delightful dessert à la mode!
Nutritional Information
While these cookies are a treat, keeping an eye on portion sizes can help you indulge without going overboard. Each cookie contains approximately 120 calories, with a delightful spread of fats, carbohydrates, and sugars. Remember that these cookies are best enjoyed in moderation, allowing you to savor every bite without the guilt!
Storing Tips & Variations for Piped Chocolate Butter Cookies
For optimal freshness, store your cookies in an airtight container at room temperature for up to a week. If you want to keep them longer, consider freezing them after they have fully cooled. Layer the cookies between sheets of parchment paper in a freezer-safe container, and they can last up to 3 months in the freezer. When you’re ready to enjoy them again, simply thaw at room temperature or warm them slightly in the oven. For a healthier twist, consider substituting half of the all-purpose flour with whole wheat flour or using a sugar substitute to cut down on calories.
Conclusion for Piped Chocolate Butter Cookies
If you’re looking for a delightful and easy-to-make treat that will impress family and friends, look no further than these Piped Chocolate Butter Cookies. With their rich chocolate flavor and beautiful swirls, they are sure to become a favorite in your baking repertoire. Don’t wait – grab your ingredients and start your baking adventure today!
FAQs
1. Can I make the dough in advance?
Yes, the dough can be made ahead of time and stored in the refrigerator for up to 24 hours before piping and baking.
2. How can I make these cookies gluten-free?
You can use a one-to-one gluten-free baking flour to substitute the all-purpose flour for a gluten-free version.
3. Can I add nuts to this recipe?
Absolutely! Chopped nuts such as walnuts or pecans can be added for extra crunch and flavor; just fold them in during the mixing process.
4. What can I use instead of espresso powder?
If you prefer, you can omit the espresso powder entirely or use instant coffee granules as an alternative, which will bring a similar flavor profile.
5. How do I know when the cookies are done baking?
The cookies should have set edges and slightly soft centers when removed from the oven. They will firm up as they cool.