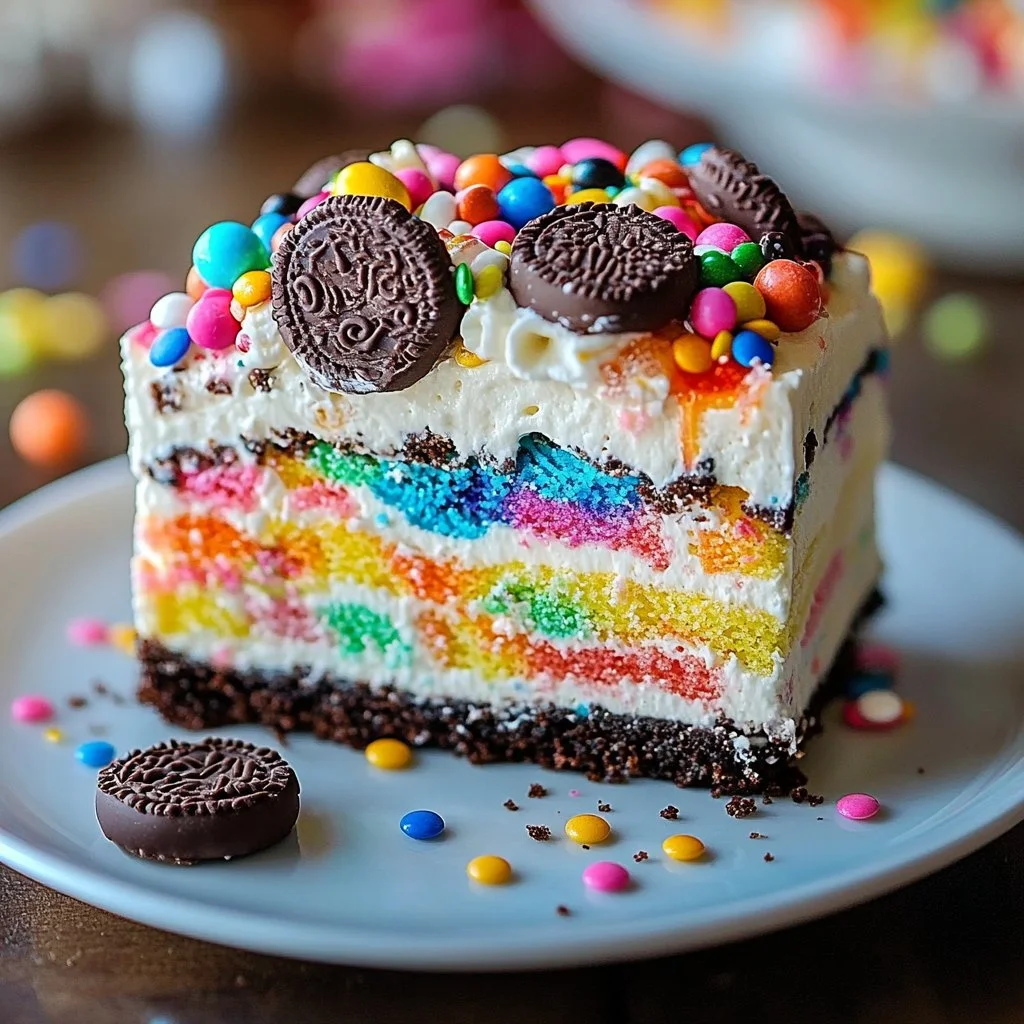
No-Bake Funfetti Oreo Icebox
No-Bake Funfetti Oreo Icebox is a delightful treat that will bring a smile to your face with every bite. This creamy, dreamy dessert is a nostalgic reminder of birthday parties and joyful celebrations. With its layers of rich cream cheese, whipped cream, and crunchy Oreo cookies, it’s the perfect combination of textures and flavors. This recipe is easy to whip up and requires no baking, making it a hassle-free option for any occasion. Let’s delve into the step-by-step process that will make this delightful icebox dessert a favorite in your household.
Why You’ll Love This Recipe
This No-Bake Funfetti Oreo Icebox is not only simple to prepare but also a versatile crowd-pleaser. Whether you’re hosting a birthday party, a family gathering, or a cozy movie night, this dessert is sure to impress. With minimal ingredients and the ability to refrigerate overnight, you can prepare it ahead of time without stress. The bright pops of rainbow sprinkles add a festive flair, making it visually appealing while delivering familiar, comforting flavors that everyone will love. Plus, the crunchy Oreos paired with a creamy filling create a delightful contrast that’s impossible to resist.
Ingredients
- 1 package (405 g) Oreo cookies
- 240 ml heavy cream
- 120 g powdered sugar
- 225 g cream cheese, softened
- 1 teaspoon vanilla extract
- 60 g rainbow sprinkles
- 90 g mini chocolate chips (optional)
Picture a package of crispy, chocolatey Oreo cookies waiting to become the base of this treat. The heavy cream, velvety and rich, whips up to fluffy perfection, while the powdered sugar brings just the right touch of sweetness. Cream cheese adds a creamy, tangy depth, and the splash of vanilla enhances the overall flavor profile. The rainbow sprinkles add a cheerful touch, with optional mini chocolate chips for those who crave a little extra chocolatey goodness. Each ingredient plays a vital role in bringing this no-bake icebox to life.
Step-by-Step Directions
-
Whisk the Cream: In a large mixing bowl, whisk the heavy cream and powdered sugar together until stiff peaks develop. This will give your dessert its delightful, airy texture, making every slice a cloud of deliciousness.
-
Prepare the Cream Cheese: In a separate bowl, beat the softened cream cheese until completely smooth. Incorporate the vanilla extract thoroughly, ensuring a well-blended mixture that captures the essence of creamy goodness.
-
Combine: Carefully fold the whipped cream into the cream cheese base. This step is essential to maintain the lightness of the whipped cream, so take your time to ensure an even and airy texture.
-
Add the Fun: Fold in the rainbow sprinkles and mini chocolate chips, if desired, until they are well distributed throughout the cream mixture. This adds bursts of color and flavor to your dessert.
-
Layer with Oreos: Line the bottom of a 23×33 cm baking dish with a single, even layer of Oreo cookies. This crispy base sets the stage for your creamy layers.
-
Spread the Cream: Evenly spread a portion of the cream mixture over the layer of cookies, covering them completely. This initial layer creates a solid foundation of flavor.
-
Repeat the Layers: Continue alternating layers of Oreo cookies and cream mixture, finishing with a final layer of creamy goodness on top. This creates a beautiful, multi-layered dessert that beckons to be served.
-
Chill to Perfection: Refrigerate uncovered for a minimum of 4 hours, or overnight, allowing the flavors to meld and the layers to set beautifully. Patience is key here – the wait will be well worth it!
-
Garnish: Before serving, garnish with extra rainbow sprinkles and crushed Oreo cookies if desired. This simple addition elevates the presentation, making it even more enticing.
Tips & Tricks
- Use Room Temperature Cream Cheese: This will ensure a smoother mixture and make it easier to blend with the whipped cream.
- Swirl in Some Peanut Butter: For an extra layer of flavor, consider adding a swirl of creamy peanut butter into the cream mixture.
- Use Seasonal Sprinkles: To tailor this dessert for specific occasions, switch out the rainbow sprinkles for themed ones, like red and green for Christmas or pastel for Easter.
- Control the Sweetness: Adjust the amount of powdered sugar based on your sweetness preference.
Serving Suggestions & Pairings
Serve this No-Bake Funfetti Oreo Icebox chilled, sliced into squares for a perfect portion. Pair it with a fresh fruit salad or scoop of vanilla ice cream for a delightful contrast. This dessert shines at birthday parties, potlucks, or just as a sweet indulgence on a cozy evening at home. Consider a glass of cold milk or a warm cup of coffee alongside it, creating a beautiful balance of flavors.
Nutritional Information
Each serving of this No-Bake Funfetti Oreo Icebox provides approximately 320 calories, along with 25 grams of fat, 30 grams of carbohydrates, and 4 grams of protein. While it’s a delicious treat that should be enjoyed in moderation, it offers a wonderful balance of indulgence and satisfaction.
Storing Tips & Variations
Store any leftovers covered in the refrigerator for up to five days. For longer storage, this icebox dessert can be frozen for up to two months. Simply cut it into squares, wrap them individually in plastic wrap, and place them in an airtight container. When you’re ready to enjoy, thaw in the refrigerator overnight. To spice things up, try substituting the Oreos with different cookie varieties, or incorporate flavored extracts, such as almond or mint, for a twist that makes your dessert unique.
Conclusion
You’ll want to make this No-Bake Funfetti Oreo Icebox as soon as you have a taste of its delightful charm. This easy, no-bake recipe brings back childhood memories while offering a fun treat that the entire family can enjoy. So gather your ingredients, follow the step-by-step guide, and indulge in this creamy, colorful dessert. Don’t forget to share your experiences and variations with us!
FAQs
-
Can I use any type of cookie instead of Oreos?
Yes, you can experiment with various cookies such as chocolate chip, peanut butter, or ginger snaps to create different flavor profiles. -
How long does it take to set?
For best results, refrigerate the icebox dessert for at least 4 hours or overnight. This allows the layers to set properly and enhances the flavors. -
Can I make this dessert dairy-free?
Yes, you can substitute dairy ingredients with non-dairy alternatives, like coconut cream, non-dairy cream cheese, and plant-based whipped cream. -
What can I do with leftovers?
Leftovers should be stored in the refrigerator for up to 5 days, or you can freeze them for up to 2 months, making it easy to enjoy later! -
Can I add more mix-ins?
Absolutely! Consider adding nuts, chopped fruit, or even chocolate chunks to the cream mixture for added texture and flavor. Just be sure to balance the ratios to maintain the dessert’s structure.