Christmas Tree Cookies
Baking during the holiday season is nothing short of magical, and Christmas tree cookies encapsulate that festive spirit perfectly. The aroma of warm butter and sugar dancing through your kitchen will evoke childhood nostalgia and create sweet memories. These whimsical little delights are soft, buttery, and adorned in luscious green icing, capturing the essence of Christmas right within your home. They are quick to make, easy for kids to decorate, and will undoubtedly impress your guests at holiday gatherings. With just a few ingredients, you will be creating a festive masterpiece that not only tastes divine but looks like a holiday wonderland on your dessert table.
Are you ready to indulge in some festive sweetness?
Imagine biting into a soft, sugar-dusted Christmas tree cookie, its rich vanilla essence melting in your mouth while you relish its artistic charm. Doesn’t that sound heavenly? Each cookie is a canvas for creativity, allowing you to unleash your inner artist with colorful icing drizzles and sprinkles. This recipe is not just about cookies; it’s about bringing families together to create something special. Whether you’re reminiscing about your childhood or making new traditions, these Christmas tree cookies are bound to hit the sweet spot.
Why You’ll Love This Recipe
These Christmas tree cookies are more than just scrumptious treats; they will quickly become a holiday favorite for many reasons.
-
Easy Prep: The straightforward steps take the stress out of baking, making it a delightful activity for everyone in the kitchen, from toddlers to grandparents.
-
Kid-Friendly: Kids love shaping, decorating, and indulging in their creations. Let their imaginations run wild with colorful sprinkles and icing.
-
Crowd-Pleaser: With their festive appearance and delicious flavor, they’re sure to win over both kids and adults alike at holiday parties.
-
Minimal Ingredients: This recipe calls for simple pantry staples, meaning you can bake these treats without any last-minute grocery trips.
Ingredients
Here’s what you’ll need to create your magical Christmas tree cookies:
For the Cookies:
- 3 cups all-purpose flour: Provides the base that gives these cookies their classic texture.
- 1 tsp baking powder: Helps the cookies rise and become fluffy.
- 1/2 tsp kosher salt: Balances the sweetness perfectly.
- 1 cup unsalted butter, softened: Richness that laces every bite with buttery goodness.
- 1 cup granulated sugar: Sweetness to satisfy your holiday cravings.
- 1 large egg: Binds the ingredients together and adds moisture.
- 1 Tbsp milk: Ensures the dough is soft and easy to work with.
- 1 tsp pure vanilla extract: A hint of warmth that makes every bite feel special.
For the Icing:
- 1/4 cup meringue powder: Gives the icing its structure and glossy finish.
- 5 to 8 tbsp water: Adjust the consistency of your icing for perfect dipping.
- 4 cups powdered sugar: Sweetness that coats each cookie like a dreamy blanket.
- Green liquid food coloring: Transform ordinary icing into a vibrant, festive hue.
Timing
These Christmas tree cookies strike the perfect balance between being fast and indulgent. The total time from mixing the ingredients to savoring your first bite depends on your cookie-decorating flair.
- Fast and Indulgent: Prep and bake the cookies in just about an hour!
- Slow and Luxurious: Take your time decorating, allowing the icing to harden for half an hour before serving.
You can let the scent of freshly baked cookies infuse your home while you enjoy the festive tunes of the season.
Step-by-Step
COOKIES:
Step 1: In a large bowl, whisk together the flour, baking powder, and salt, creating a fluffy cloud of dry ingredients. In another large bowl, using an electric mixer on high speed, beat the softened butter and granulated sugar until the mixture is fluffy and pale, about 2 minutes. This step is crucial for a light texture. Add the egg, milk, and vanilla extract, beating until fully combined. Gradually add the dry ingredients, mixing until fully incorporated.
Step 2: Divide the dough in half and place it between two pieces of floured parchment paper. Roll it out to about 1/4 inch thick, embracing the fragrant dough. Transfer the rolled dough to a baking sheet and refrigerate for 30 minutes for optimal firmness and easier cutting.
Step 3: Preheat your oven to 350 degrees Fahrenheit and line baking sheets with parchment paper. Cut out tree shapes with your cookie cutter, transferring each one to the baking sheets. It’s time to freeze them for another 5 minutes, enhancing the cookie’s overall shape during baking.
Step 4: Bake the cookies until the edges are lightly golden, about 8 to 10 minutes. Once done, remove them from the oven and allow them to cool completely, filling your kitchen with tantalizing scents.
ICING:
Step 1: In a large bowl, beat the meringue powder and 5 tablespoons of water until frothy, about 1 minute. Gradually add the powdered sugar and continue beating until the mixture is smooth and luscious, adding more water if needed.
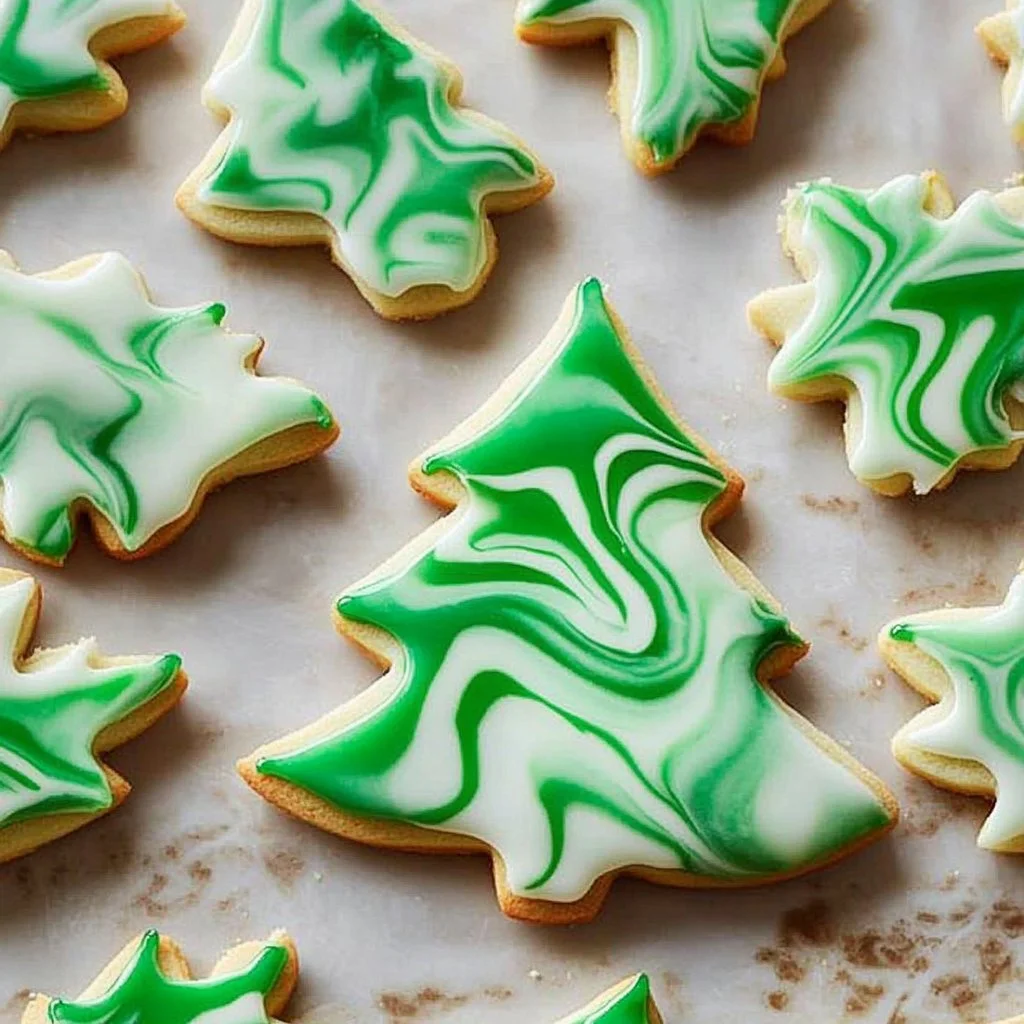
Step 2: Add a few drops of green food coloring to achieve the desired color, then swirl for a delightful marbled look.
Step 3: Dip the tops of each cookie into the icing, allowing the excess to drip off and create a beautiful, gooey finish. Let sit until the icing hardens, about 30 minutes.
Nutritional Information
Each Christmas tree cookie is a delightful indulgence that will have you coming back for more.
- Calories: Approximately 120 calories per cookie—a small price for a holiday treat but remember to enjoy in moderation!
These cookies are sweetened with love and buttery goodness, making them perfect for holiday celebrations.
Healthier Alternatives
If you’re looking for a lighter approach, consider the following swaps:
- Use whole wheat flour instead of all-purpose flour for added fiber.
- Substitute coconut oil for butter to make them dairy-free.
- Replace granulated sugar with stevia or monk fruit sweetener for a low-sugar alternative.
These adjustments maintain the essence of the cookies while catering to different dietary needs.
Serving Suggestions
These whimsical cookies are perfect on their own but can be even more delightful with a few pairing ideas:
-
With Vanilla Ice Cream: Serve the cookies warm, paired with a scoop of creamy vanilla ice cream for an indulgent dessert.
-
At Holiday Gatherings: Place them on a festive platter alongside other holiday treats to create an eye-catching dessert table.
-
With Hot Cocoa: Dip your Christmas tree cookie into a steaming mug of hot cocoa for a cozy treat on chilly nights.
Common Mistakes
Baking can come with a few hiccups. Avoid these common pitfalls for perfect Christmas tree cookies:
-
Overbaking: Keep an eye on the cookies. Remove them once the edges are golden to avoid dryness.
-
Texture Issues: Ensure the butter is softened adequately and not melted. This will prevent dense cookies.
-
Messes: Prepare your workspace with plenty of flour to keep the stickiness in check.
Storing Tips
To keep the holiday spirit alive long after baking, consider the following storage options:
-
Freezing Portions: Christmas tree cookies freeze beautifully! Place them in an airtight container or freezer bag. They can be frozen for up to 3 months.
-
Reheating Instructions: When ready to enjoy your frozen goodies, let them thaw in the fridge or at room temperature, and pop them in the microwave for a few seconds to enjoy that fresh-baked taste again.
Tempt readers to bake it ASAP
Now that you’re equipped with this delightful Christmas tree cookie recipe, can you resist the urge to bake? Picture yourself in the kitchen, egging on your loved ones to join in the festive fun. Share the joy of creating a treat that not only satisfies the sweet tooth but also becomes a cherished holiday tradition. Grab your apron and let the festive baking begin!
FAQs
1. Can I freeze the dough before baking?
Absolutely! You can freeze the dough for up to 3 months. Simply wrap it tightly in plastic wrap and then place it in an airtight container or freezer bag.
2. How do I get the icing to harden quickly?
To speed up the hardening process, you can place the iced cookies in the fridge for about 15 minutes.
3. Can I use other cookie cutters for different shapes?
Yes! Feel free to get creative. Use any festive-shaped cookie cutter—stars, snowmen, or even gingerbread men are all wonderful choices!
4. How can I make the icing thick?
If your icing is too runny, add more powdered sugar until you achieve your desired thickness.
5. Can I make these cookies in advance?
Definitely! Christmas tree cookies can be made several days in advance, stored in an airtight container at room temperature, and will taste just as delicious!
Baking these Christmas tree cookies will not just create delightful treats but also joyous memories. Happy baking!