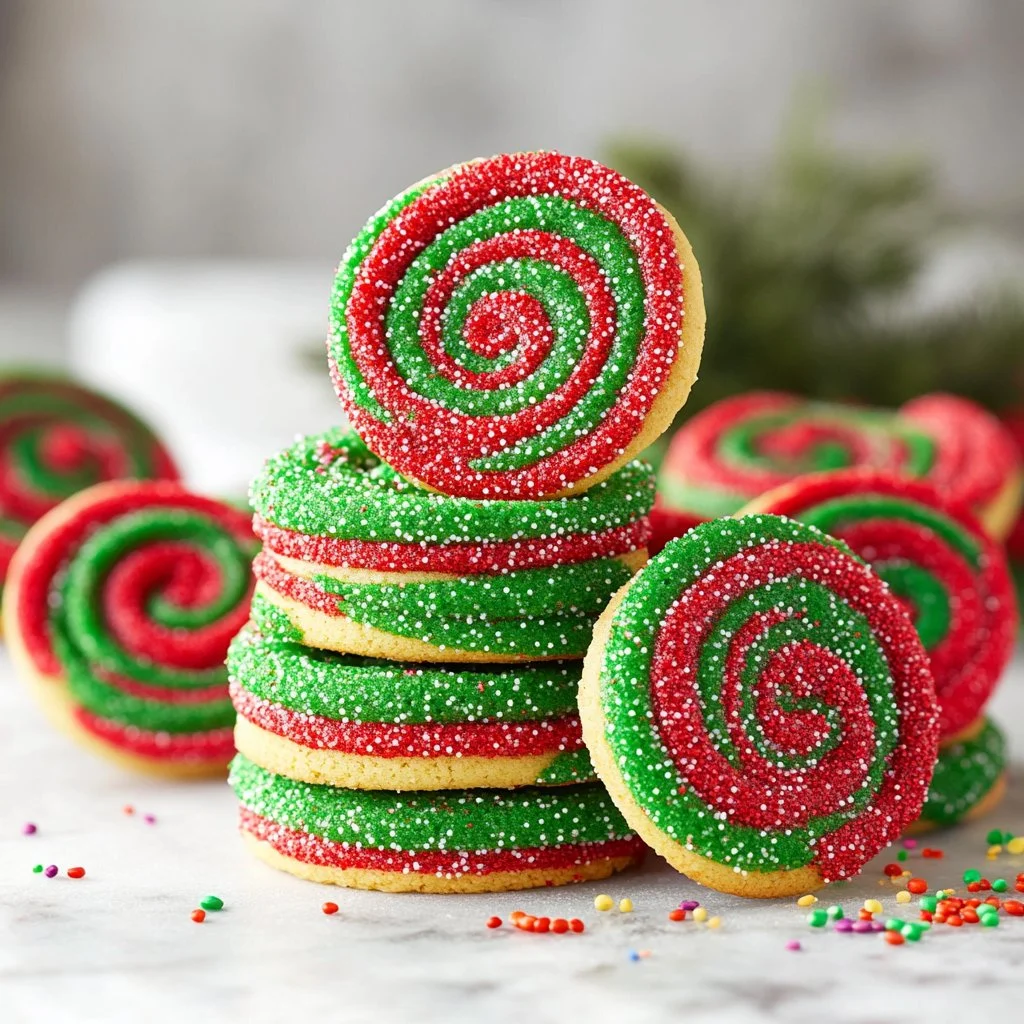
Christmas Pinwheel Cookies
Step into the enchanting world of Christmas Pinwheel Cookies, where the spirit of the season is wrapped in layers of color and flavor. This delightful recipe combines a tender, buttery cookie with vibrant swirls of red and green, evoking memories of festive gatherings and laughter. As you knead and roll the dough, the sweet aroma of vanilla and baked goodness fills your kitchen, creating an ambiance of warmth and joy. The step-by-step process not only offers ease but also a sense of accomplishment as you prepare these stunning treats that are sure to impress both family and friends.
History / Fun Fact
Christmas cookies have a rich history, deeply rooted in holiday traditions around the world. The concept of pinwheel cookies is believed to originate from the creative desire to make treats visually appealing for festive celebrations. During the 19th century, bakers began experimenting with different dough colors and textures, leading to the striking designs we see today. These cookies have become synonymous with holiday cheer, often adorning dessert platters at holiday parties or being shared as gifts among loved ones. The art of cookie decoration is a cherished tradition, with families passing down recipes that hold sentimental value as they create sweet memories during the most wonderful time of the year.
Ingredients
- 2 3/4 cups plus 2 tbsp (384g) all-purpose flour: The foundation of your cookies, providing a tender yet firm texture.
- 1 tsp baking soda: This will help the cookies rise just perfectly.
- 1/2 tsp baking powder: Enhancing the soft center of each cookie.
- 1/2 tsp salt: A pinch to balance the sweetness.
- 1 cup (224g) unsalted butter, room temperature: Buttery richness that melts in your mouth.
- 1 1/4 cups (259g) granulated sugar: Offering the right sweetness to match the holiday vibe.
- 1 large egg: This binding agent adds moisture to the dough.
- 2 tsp vanilla extract: The warm, aromatic notes of vanilla will elevate your cookies.
- Red and green gel icing color: For vibrant, festive colors that enhance the visual appeal.
- 3-4 tbsp sprinkles (optional): To add an extra touch of fun and whimsy.
These ingredients come together to craft cookies that are not only visually stunning but also a treat for the taste buds!
Cooking Time & Tips For Christmas Pinwheel Cookies
To create these festive treats, you have the option of quick or slow preparation methods. For those pressing for time, let’s take the express route: After preparing your dough, chill it briefly before rolling and baking. On the other hand, if you’re indulging in the process, take your time with the chilling stages for a firmer dough, which makes rolling much easier and yields a more uniform texture. This recipe requires about 30 minutes of active time and another 2 hours for chilling, plus baking time.
Tips for Success:
- Ensure your butter is at room temperature for easier creaming.
- Chill the dough adequately to prevent sticking and ensure cleaner edges.
- Use parchment paper for easy rolling and clean-up.
- Be gentle when rolling to maintain the layers and colors.
- Adjust baking time based on your oven’s tendencies, so your cookies don’t over-bake.
Step-by-Step Directions
-
In a medium-sized bowl, combine the flour, baking soda, baking powder, and salt. Set this dry mixture aside, awaiting its moment to blend into deliciousness.
-
In a large mixer bowl, cream together the room temperature butter and granulated sugar on medium speed for about 2-3 minutes. Watch as it transforms into a light, fluffy concoction—a beautiful color change is your signal that it’s ready.
-
Next, add the egg, mixing until well combined. The dough will start thickening, embracing a smoother texture. Pour in the vanilla extract and let it combine fully, filling the air with its aromatic essence.
-
Gradually incorporate the dry ingredients into the butter mixture, stirring until it binds well. Take care to avoid over-mixing; you want a soft, cohesive ball of dough that isn’t sticky.
-
Now, divide the dough in half. Color one half with red gel icing color and the other half with green gel icing color. Wrap each in plastic wrap and refrigerate for 20-30 minutes until they are firmer yet still rollable.
-
Roll out the cookie dough on parchment paper to form 8×14 inch rectangles. Strive for uniformity and trim as necessary to maintain a neat shape.
-
Place the rolled-out dough in the refrigerator for another 5-10 minutes to ensure it’s nice and firm again. This step is crucial for easy handling in the next steps.
-
With great care, place the green dough on a flat surface and layer the red dough on top, aligning them as best as you can. Peel off the parchment paper, gently pressing the red dough onto the green.
-
Starting from the longer side, roll the dough together without gaps. Work slowly, using your fingers to mend any cracks that may appear, ensuring a tight, smooth log.
-
Cut the log in half to form two separate rolls, which you will then wrap tightly in plastic wrap for at least 2 hours.
-
When you’re ready to bake, preheat your oven to 350°F (180°C). Prepare your baking sheets with parchment paper or silicone baking mats.
-
Slice each log into about ½ inch thick discs—you should yield around 28-30 cookies. If desired, roll the edges in sprinkles for that festive flair.
-
Arrange your cookies about 2 inches apart on the baking sheets and bake for 9-12 minutes. You’ll know they’re done when the edges just begin to brown.
-
Remove from the oven and let them cool for about 5 minutes on the baking sheets before transferring to a cooling rack.
-
Store your cookies in an air-tight container to maintain freshness. They are at their best enjoyed within 4-5 days.
Serving Suggestions & Occasions
These dazzling cookies are the perfect addition to any holiday dessert table, making them ideal for Christmas gatherings, office potlucks, or family get-togethers. Serve them alongside a cup of spiced holiday tea or hot cocoa to enhance their festive spirit. They also make excellent homemade gifts when elegantly packaged in festive boxes or tins.
Common Mistakes For Christmas Pinwheel Cookies
One common mistake is under-chilling the dough; this can lead to cookies spreading during baking. Make sure to adequately chill both the dough and the rolled-out cookies before slicing. Another pitfall is over-mixing once the flour is added, which can lead to a tougher texture. Lastly, rolling the dough without parchment can lead to sticking difficulties. Always use parchment paper to ensure smooth handling and easy clean-up.
Healthier Alternatives & Variations
For a healthier twist, consider using whole wheat flour instead of all-purpose flour. You can also substitute coconut oil for butter for a dairy-free option. For a sugar alternative, using honey or maple syrup can provide sweetness without refined sugar. For a seasonal variation, add in some spices such as cinnamon or nutmeg to the dough for a wintery flavor profile. Additionally, incorporating chopped nuts or dried fruits can add texture and a delightful surprise to each cookie bite.
FAQs
-
Can I freeze the cookie dough?
- Yes, you can freeze unbaked cookie logs for up to a month. Just wrap well in plastic and foil.
-
How do I store these cookies?
- Store in an air-tight container at room temperature for up to five days, or in the fridge for longer freshness.
-
Can I use food coloring instead of gel icing color?
- Yes, but gel colors provide deeper, more vibrant hues with less volume.
-
What other colors can I use?
- Feel free to experiment with other holiday shades like blue and white for winter celebrations, or pastels for springtime treats.
-
Are these cookies soft or crispy?
- These cookies are soft and chewy when baked as directed.
-
Can I add other flavors to the dough?
- Absolutely! Almond extract or peppermint extract can be delightful variations this time of year.
Conclusion
Your Christmas Pinwheel Cookies are waiting to come to life in your kitchen, beckoning you to dive into a delightful baking adventure. The rhythmic process of mixing, rolling, and rolling out—and the irresistible aroma wafting through the air—will surely ignite the holiday spirit within you. Let the vibrant colors and the sweet, buttery flavors of these cookies transform your holiday season into an enchanting one. Grab your ingredients today, and let’s start baking magic together!