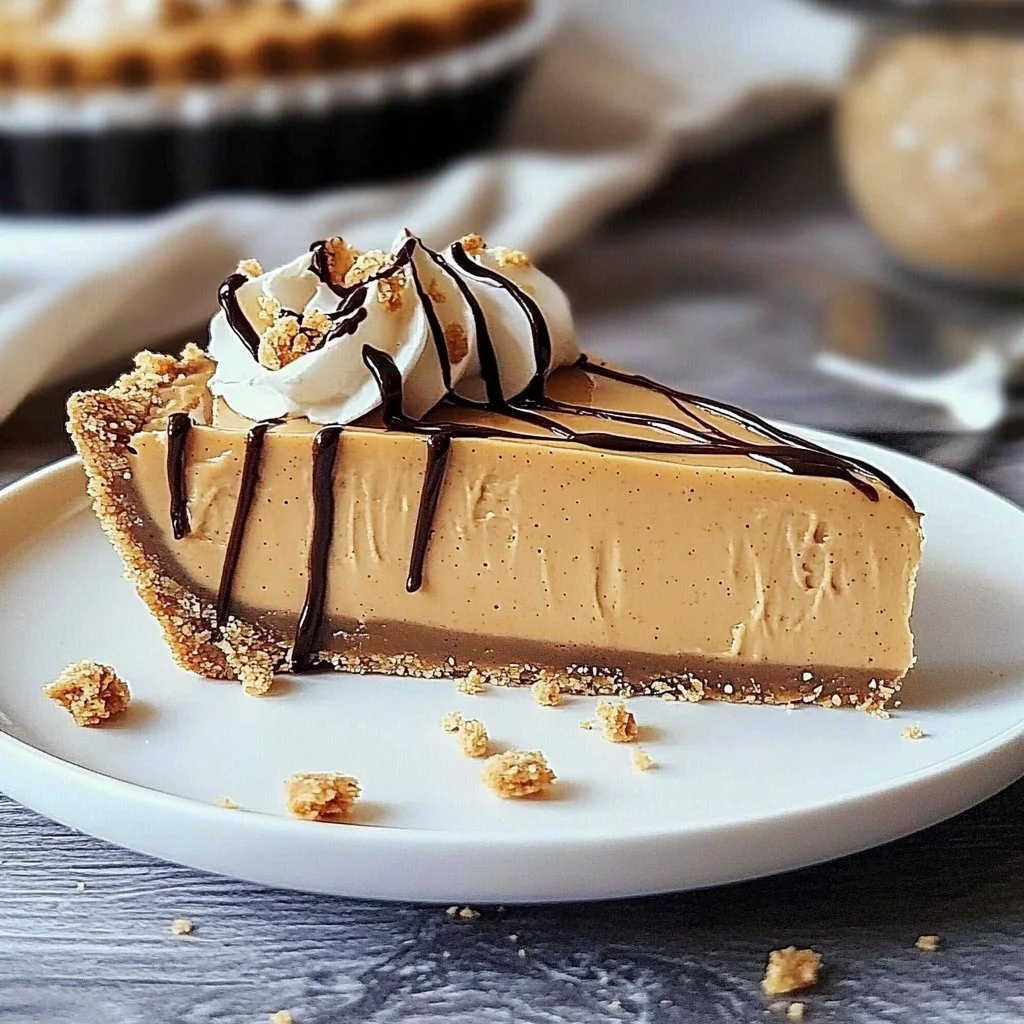
No Bake Peanut Butter Pie with Graham Cracker Crust
Imagine sinking your teeth into a luscious slice of No Bake Peanut Butter Pie, where creamy peanut butter meets a buttery graham cracker crust, all without the fuss of turning on your oven. This recipe brings a wave of nostalgia, reminiscent of summer afternoons spent with family, laughter echoing around a picnic table. The allure of its rich, sweet flavor combined with a light and airy texture makes this dessert not just a treat, but an experience.
Crafted in mere minutes, this pie is perfect for those moments when you crave something sweet but don’t want the hassle of complex baking. No bake peanut butter pie is a crowd-pleaser that all ages adore, making it an ideal choice for everything from birthdays to casual weekend indulgences. It’s time to whip up this delightful masterpiece that will leave your loved ones begging for seconds!
Are you ready for a slice of heaven in pie form?
Picture this: a hot summer day, and you’re enjoying a slice of creaminess that melts in your mouth. Can you feel that craving creeping in? The combination of peanut butter rich enough to make each bite feel decadent, against the crunch of the graham cracker crust, is enough to satisfy any sweet-tooth. Wouldn’t it be delightful to have a dessert that brings everyone together and leaves them smiling? Let’s dive into this no-muss, no-fuss dessert that’s bound to become your new go-to recipe!
Why You’ll Love This Recipe
This No Bake Peanut Butter Pie is one of those magical creations that promises not only ease but also joy.
- Easy Prep: With minimal ingredients and no baking required, it’s a breeze to throw together.
- Crowd-Pleaser: Whether it’s a family gathering or a dinner party with friends, everyone will adore this pie.
- Nostalgic: The combination of peanut butter and graham crackers takes you back to simpler times, making it a great conversation starter.
- Versatile: Customize it with toppings like chocolate sauce or crushed nuts for an extra touch.
- Kid-Friendly: No complicated steps mean little hands can join in the fun!
Ingredients
To bring this indulgent No Bake Peanut Butter Pie to life, here’s what you’ll need:
- 1 ½ cups graham cracker crumbs: The foundation of our pie, offering that delightful crunch and buttery flavor.
- ½ cup unsalted butter, melted: This adds richness and binds the crumbs together for a perfect crust.
- 8 oz cream cheese, softened: It’s essential for achieving that creamy, dreamy texture in the filling.
- 1 cup creamy peanut butter: The star of the show! The peanut butter provides a smooth, rich flavor that commands attention.
- ¾ cup powdered sugar: Adding just the right amount of sweetness to balance out the richness.
- 8 oz whipped topping: Lightens the filling, creating an airy finish that melts in your mouth.
Each ingredient plays its role, harmonizing together to create a dessert that is as delightful to make as it is to enjoy!
Timing
The best part about this No Bake Peanut Butter Pie is its wonderfully speedy preparation. In just a short time, you can mix, assemble, and pop it in the fridge to chill.
- Fast and Indulgent: Prepare it in under 20 minutes, with a cooling time of at least four hours.
- Slow and Luxurious: For the best flavor and texture, letting it chill overnight is ideal—giving the notes of peanut butter and sweetness time to deepen.
The quicker you make it, the less waiting you have to do before indulging in this slice of heaven!
Step-by-Step
Now, let’s get to the good stuff! Here’s how to create your No Bake Peanut Butter Pie:
-
Prepare the crust: Start by mixing the graham cracker crumbs with the melted butter in a bowl until everything is well combined. The mixture should feel like damp sand—each crumb hugging the butter.
-
Press into the pie dish: Transfer the mixture into a pie dish and press firmly to form an even layer. This step is key to ensuring your crust holds together beautifully once it’s chilled.
-
Chill the crust: Pop the crust into the refrigerator for at least 30 minutes to set. This extra time is worth it for a sturdy base!
-
Make the filling: In a separate bowl, beat the softened cream cheese and peanut butter together until smooth and creamy. The mixture should be velvety and luscious, inviting you to sneak a taste or two.
-
Sweeten things up: Gradually add in the powdered sugar while mixing thoroughly. Watch as the filling transforms into a sweet, creamy treat.
-
Fold in whipped topping: Gently fold in the whipped topping until it’s fully incorporated—this is what gives the filling a light, airy texture reminiscent of your favorite fluffy desserts.
-
Assemble the pie: Spoon the filling into the chilled crust, smoothing it out evenly. The creamy texture should pool enticingly, urging you to dig in.
-
Chill it down: Cover the pie with plastic wrap and place it in the refrigerator. Chill for at least 4 hours or, for the best flavor, let it rest overnight.
-
Serve cold: When you’re ready to indulge, serve slices cold, garnished with chocolate syrup or crushed nuts for an extra pop of flavor and crunch.
With each scoop, the filling oozes ever so slightly, mixing with the delightful crunch of the crust—truly a dessert made in heaven!
Nutritional Information
This decadent No Bake Peanut Butter Pie is not only stunning, but it also offers a delightful treat every now and then.
- Serving Size: 1 slice
- Calories: Approximately 350 calories
- Total Fat: 22g
- Saturated Fat: 10g
- Carbohydrates: 38g
- Sugars: 18g
- Protein: 5g
While this pie is indeed a rich indulgence, it serves as a reminder that a little indulgence is part of life’s pleasures. Enjoy it and savor every bite!
Healthier Alternatives
If you’re looking for a lighter version of this irresistible No Bake Peanut Butter Pie, here are a few swaps to consider:
- Low-Sugar Version: Use a sugar substitute to bring down the sweetness without losing flavor.
- Dairy-Free Swaps: Substitute the cream cheese with dairy-free options, and you can use coconut cream in place of whipped topping for an equally luscious filling.
- Graham Cracker Alternatives: Try using almond flour or crushed nuts for a gluten-free, grain-free crust that still packs a flavorful punch.
These alternatives allow you to enjoy a delicious slice of pie while accommodating dietary preferences!
Serving Suggestions
Consider serving this No Bake Peanut Butter Pie at your next gathering, picnic, or holiday celebration.
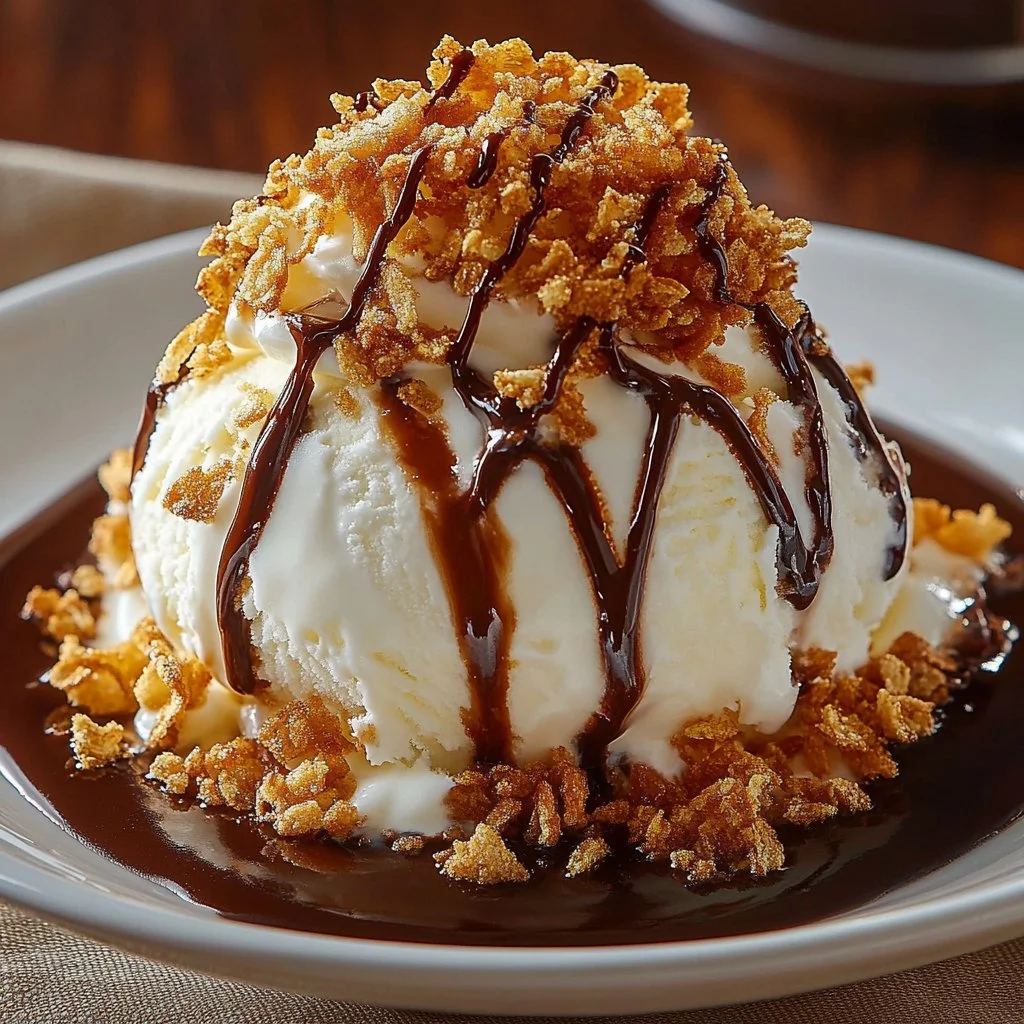
- Pair it with Ice Cream: A scoop of vanilla ice cream alongside the creamy filling creates a luscious contrast.
- Top it with Fresh Fruit: Slices of banana or strawberries add a refreshing zest that balances the richness of the pie.
- Craft Your Own Board: Create a dessert board with this pie, cookies, and an array of toppings for a sweet spread that impresses.
Whether it’s a casual dinner or a festive holiday meal, this pie fits seamlessly into every occasion!
Common Mistakes
Even the most experienced bakers can trip up on this No Bake Peanut Butter Pie. Here are a few common mishaps to avoid:
- Overmixing the Filling: Avoid whipping the filling too much after adding the whipped topping, as it may lose its light, airy consistency.
- Not Chilling Long Enough: Rushing the chilling process can lead to a runny filling; patience is key!
- Messy Cutting: Use a warm knife to cut clean slices – this prevents the filling from sticking and makes for picture-perfect pieces.
By being aware of these pitfalls, you can ensure your pie is a success.
Storing Tips
Once you’ve created this stunning No Bake Peanut Butter Pie, you’ll want to ensure it stays delicious! Here are some helpful storing tips:
- Freezing Portions: You can freeze individual slices wrapped tightly in plastic wrap or foil for an impromptu treat later. Just be sure to thaw in the fridge before serving.
- Reheating Instructions: Since this is a no-bake pie, you don’t actually reheat it but can easily refreeze it if you have leftover slices to keep the flavor intact.
With the right storage, you can enjoy this dessert for days to come!
Tempted to Make it ASAP?
If you haven’t already, it’s time to whip up this No Bake Peanut Butter Pie! With its creamy, dreamy filling and classic graham cracker crust, it’s a treat designed to bring smiles all around. Whether it’s for a special occasion or simply because you deserve a treat, this pie is calling your name!
Don’t wait another minute to create something truly indulgent. Your taste buds will thank you wildly!
FAQs
Can I use natural peanut butter for this recipe?
Absolutely! Just make sure it’s creamy and well-stirred for the best results.
How long can I store the No Bake Peanut Butter Pie?
You can keep it in the fridge for about 3 to 5 days, or freeze it for about a month.
Can I make this pie ahead of time?
Yes! It’s perfect for make-ahead desserts. Just ensure it has enough chilling time in the fridge.
What is the best way to slice the pie?
Use a warm, sharp knife for clean cuts, dipping the knife in hot water and wiping it dry between slices.
Can I customize the toppings?
Definitely! Feel free to top it with marshmallows, chocolate chips, or even a drizzle of caramel for added flavor.
Now, grab your ingredients and get ready to dive into the deliciousness that is No Bake Peanut Butter Pie with Graham Cracker Crust! Your new favorite dessert is just a few steps away.
PrintNo Bake Peanut Butter Pie with Graham Cracker Crust
A delicious No Bake Peanut Butter Pie featuring a creamy peanut butter filling and a crunchy graham cracker crust, perfect for any occasion.
- Prep Time: 20 minutes
- Cook Time: 0 minutes
- Total Time: 240 minutes
- Yield: 8 servings 1x
- Category: Dessert
- Method: No Baking Required
- Cuisine: American
- Diet: Vegetarian
Ingredients
- 1 ½ cups graham cracker crumbs
- ½ cup unsalted butter, melted
- 8 oz cream cheese, softened
- 1 cup creamy peanut butter
- ¾ cup powdered sugar
- 8 oz whipped topping
Instructions
- In a bowl, mix graham cracker crumbs with melted butter until well combined.
- Press mixture into a pie dish to form an even layer for the crust.
- Chill the crust in the refrigerator for at least 30 minutes.
- In a separate bowl, beat softened cream cheese and peanut butter together until smooth.
- Gradually add powdered sugar and mix until fully incorporated.
- Gently fold in the whipped topping until combined.
- Spoon the filling into the chilled crust and smooth it out evenly.
- Cover and refrigerate for at least 4 hours or overnight for best results.
- Serve cold, optionally garnished with chocolate syrup or crushed nuts.
Notes
For a lighter version, consider using dairy-free substitutes and a sugar alternative.
Nutrition
- Serving Size: 1 slice
- Calories: 350
- Sugar: 18g
- Sodium: 150mg
- Fat: 22g
- Saturated Fat: 10g
- Unsaturated Fat: 7g
- Trans Fat: 0g
- Carbohydrates: 38g
- Fiber: 1g
- Protein: 5g
- Cholesterol: 30mg